Multimodal AI for Developers Tutorial: Generating Production-Ready Code from Designs
Learn how to use Multimodal AI to generate production-ready React code from designs. This tutorial covers Figma-to-code workflows, Claude Vision, and Netalith AI tools.
Drake Nguyen
Founder · System Architect
Introduction to Multimodal AI in Frontend Development
Welcome to this definitive Multimodal AI for Developers tutorial. The landscape of software engineering has shifted dramatically, and as we navigate the complexities of modern frontend development, manual pixel-pushing is rapidly becoming a relic of the past. Today, developers are leveraging sophisticated visual models that can "see" designs and translate them into functional markup and logic in seconds. By adopting multimodal developer tools, engineering teams are bridging the traditional gap between design and production code with unprecedented speed and accuracy.
This UI automation guide serves as your comprehensive roadmap. Whether you are aiming to accelerate your prototyping phase or completely overhaul your team's design-to-production pipeline, understanding how to harness these visual-to-code pipelines is essential. We will explore practical workflows, examine cutting-edge industry tools like Netalith, and provide actionable code-generation strategies to keep you ahead of the curve.
Multimodal AI for Developers Tutorial: Prerequisites & Tool Setup
Before diving into the core of this UI automation guide, you must establish a robust environment optimized for AI-driven generation. Think of this section as your foundational Visual AI for devs tutorial. To successfully write and compile Multimodal AI code, you need more than just a standard IDE; you need a toolchain configured for visual-to-code AI processing.
- Node.js & React Environment: Ensure you are running a stable LTS version of Node.js and have a clean React (or Next.js) repository initialized.
- API Keys: Secure access to the latest vision models. You will need API keys for Anthropic's Claude 3.5 Sonnet and OpenAI's GPT-4o.
- Netalith Developer Account: Register for a Netalith AI workspace to access specialized, developer-first multimodal endpoints.
- Design Assets: Have a few sample Figma links, exported UI images, or even hand-drawn wireframes ready for processing.
With your environment configured, you are ready to proceed to the next stage of our UI automation guide: translating high-fidelity mockups into raw components.
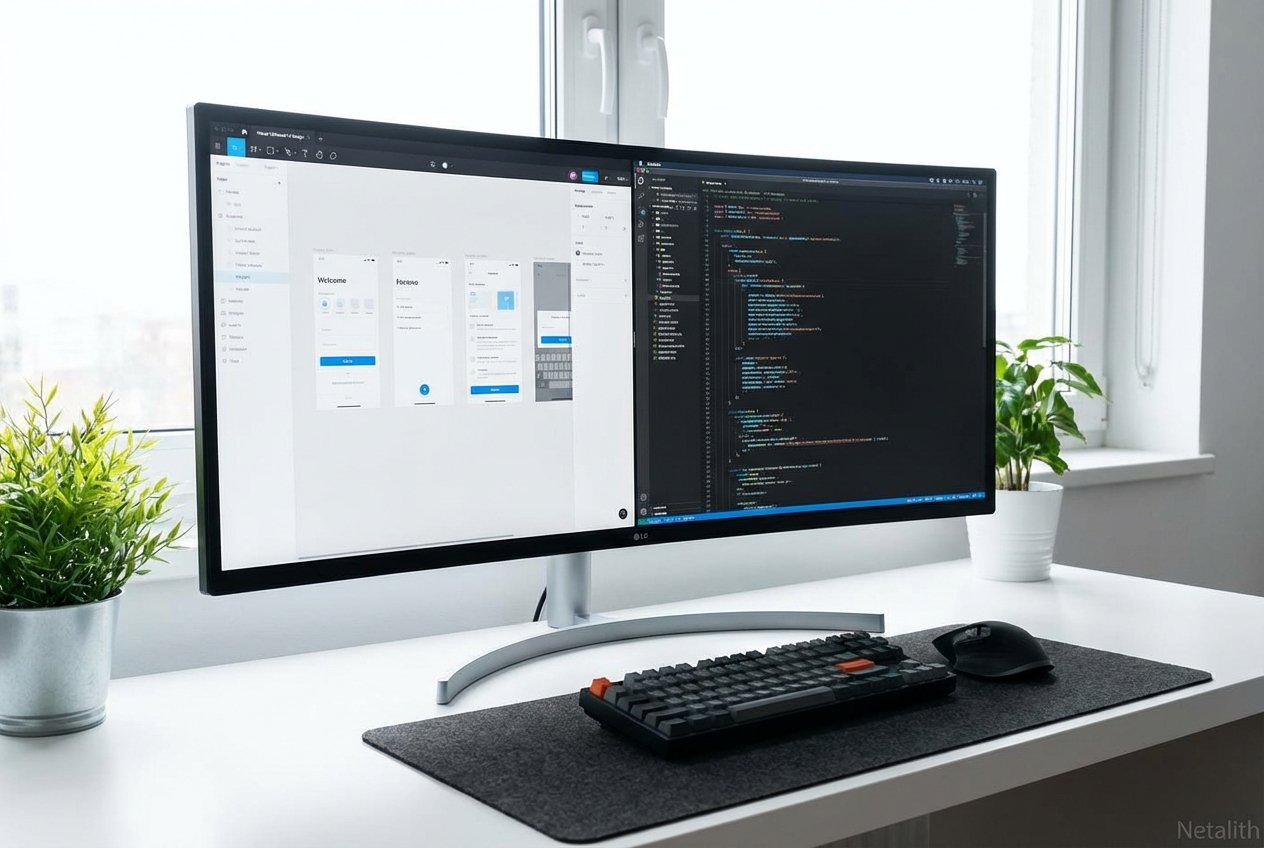
Converting Figma Designs to React with Claude Vision and GPT-4o
One of the most profound leaps in automated UI development is the ability of modern models to parse complex vector graphics and component libraries. Converting Figma designs to React with Claude Vision and GPT-4o is now a standard practice for forward-thinking engineering teams. Rather than manually measuring padding and copying hex codes, you can utilize these models for instant React component generation AI.
To execute this, export your Figma frame as a high-resolution PNG. Next, apply Claude AI workflow automation techniques by feeding the image to the Claude Vision API with a highly specific, developer-centric prompt.
"Act as an expert React developer. Analyze the provided UI image and generate a responsive, accessible React functional component using Tailwind CSS. Use semantic HTML tags. Do not hallucinate external libraries unless necessary."
Because GPT-4o and Claude Vision both excel at spatial reasoning, they will accurately interpret flexbox layouts, grid structures, and typography hierarchy. Converting Figma designs to React with Claude Vision and GPT-4o drastically reduces boilerplate creation, allowing developers to focus immediately on state management and API integration.
UI/UX Design to Code Workflows Using Netalith AI Tools
While standalone LLMs are powerful, orchestrating them into a seamless pipeline requires purpose-built infrastructure. This is where UI/UX design to code workflows using Netalith AI tools shine. Netalith acts as the ultimate bridge, providing a unified platform specifically trained for design-to-code automation.
If you have explored various Netalith AI guides, you already know that modern standards demand more than just static HTML. Netalith's Multimodal LLMs integrate directly into your CI/CD pipeline and GitHub repositories. By mapping your existing design system tokens to Netalith's engine, the generated code instantly adheres to your company's proprietary styling guidelines, making UI/UX design to code workflows using Netalith AI tools incredibly efficient.
Generating Responsive Layouts from Wireframe Images Tutorial
Not all projects start with a polished Figma file. Often, developers receive a quick whiteboard sketch. In this generating responsive layouts from wireframe images tutorial, we will demonstrate how visual-to-code AI handles low-fidelity inputs. This serves as a vital UI automation guide for early-stage prototyping.
- Capture the Sketch: Take a clear photo of your hand-drawn wireframe. Ensure layout boundaries (like headers, sidebars, and main content areas) are distinct.
- Upload to Netalith: Import the image into the Netalith AI multimodal dashboard.
- Prompt for Structure: Use a prompt like: "Interpret this low-fidelity wireframe. Generate a responsive CSS Grid layout structure in React."
- Refine: The AI will map your lines to a rigid mathematical grid. From there, you can iteratively prompt the AI to replace placeholders with actual components.
Mastering this generating responsive layouts from wireframe images tutorial ensures that even the roughest ideas can be tested in the browser within minutes.
Best Practices for Design-to-Code Automation
To maximize the return on investment from this UI automation guide, you must adhere to core principles of design-to-code automation. Even the most advanced Multimodal LLMs require strategic handling to produce production-ready code.
- Context is King: When passing images to an AI, provide context about the global state and intended behavior.
- Component Modularity: Break the design down into atomic pieces (e.g., Sidebar, Navbar, Widget) for precise automated UI development.
- Iterative Refinement: Treat the AI's first output as a draft. Run the code, identify layout shifts, and prompt the AI with error messages to refine the output.
- Enforce Accessibility: Always include strict instructions to generate ARIA labels, semantic tags, and keyboard-navigable structures.
Conclusion: Mastering the Multimodal AI for Developers Tutorial
Mastering using multimodal AI to generate frontend code is the key to scaling your development output. As we have explored in this UI automation guide, the combination of high-fidelity vision models and developer-first tools like Netalith enables a workflow where design and code are no longer silos, but two sides of the same coin.
By integrating design-to-code automation into your daily routine, you eliminate repetitive layout tasks and free your team to focus on complex business logic and user experience. Stay experimental, refine your prompting techniques, and continue leveraging this UI automation guide as you build the next generation of visual applications.
Frequently Asked Questions
What is multimodal AI and how does it help frontend developers?
Multimodal AI refers to artificial intelligence models capable of understanding multiple types of data inputs simultaneously—such as text and images. For frontend developers, this means the AI can "look" at a design mockup and directly output the corresponding HTML, CSS, and JavaScript, eliminating manual transcription and speeding up development cycles. In summary, a strong Multimodal AI for Developers tutorial strategy should stay useful long after publication.