The Ultimate Amazon Seller Central Guide: Step-by-Step Account Setup & Strategy
A comprehensive 2026 guide to setting up an Amazon Seller Central account, covering documentation, identity verification, and dashboard navigation.
Drake Nguyen
Founder · System Architect
Amazon Seller Central guide 2026: Introduction to the Ultimate Amazon Seller Central Guide
Stepping into the world of e-commerce has never offered more potential for rapid scale and global reach. Whether you are launching a proprietary brand or exploring retail arbitrage, your journey begins with one critical foundational step: mastering the platform. Welcome to the ultimate Amazon Seller Central guide 2026. Designed for aspiring entrepreneurs and seasoned digital commerce professionals alike, this comprehensive resource will walk you through exactly how to set up an Amazon Seller Central account in 2026.
Successfully selling on Amazon requires more than just excellent products; it demands a deep understanding of the merchant portal and strict compliance with operational guidelines. As the landscape evolves with advanced integrations, aligning your setup with strategies like AI-driven product research 2026 is essential for staying competitive. Let us dive into the preparation, registration, and navigation steps necessary to build a profitable storefront.
Preparing Your Amazon Business Documentation Requirements
Before initiating the sign-up process, gathering the correct paperwork will save you significant time and prevent account suspension delays. Understanding the strict Amazon business documentation requirements is the first hurdle every merchant must clear. Amazon uses these documents to verify your identity, combat fraud, and ensure platform safety. This Amazon seller portal tutorial emphasizes that digital clarity is just as important as the information itself.
To successfully open your Amazon seller account, you must prepare the following:
- A valid, government-issued photo ID or passport.
- A recent bank account statement or credit card statement (issued within the last 90 days).
- A chargeable credit card for international transactions.
- Your business registration details (if applying as an LLC or corporation).
- Your phone number and an active email address.
Pro Tip: Ensure that the name and address on your bank statement perfectly match the details on your government ID and the information you plan to enter during registration.
Additionally, keep in mind the current payment service provider policy, which mandates using approved banking partners to receive your disbursements. You will also need your tax identification numbers (like an SSN or EIN) readily available to seamlessly complete the tax information interview Amazon requires later in the setup phase.
Professional vs. Individual Seller Account Guide
One of the earliest decisions you will make is choosing your selling plan. In this quick professional vs individual seller account guide, we outline the two primary tiers designed to suit different business models. Following an Amazon seller portal tutorial approach means choosing the plan that scales with your 12-month projections.
The Individual plan operates on a pay-as-you-go structure, charging a nominal fee for every item sold, making it ideal if you plan to sell fewer than 40 units a month. Conversely, the Professional plan costs a flat monthly subscription fee but waives the per-item fee. More importantly, a Professional Amazon seller account unlocks advanced features, including API access, bulk listing tools, and eligibility for the Buy Box.
If you are unsure how to maximize these advanced features, leveraging free training modules within Amazon Seller University can provide excellent clarity on which plan aligns with your long-term goals.
The Complete Amazon Seller Registration Process
With your documents gathered and your account tier selected, you are ready to begin. The Amazon seller registration process 2026 has been streamlined for efficiency but requires meticulous attention to detail. Knowing how to set up an Amazon Seller Central account in 2026 involves executing a series of precise steps to establish your merchant profile securely. This is the core phase of any Amazon seller portal tutorial implementation.
Begin by navigating to the official Amazon selling page and clicking "Sign Up." From here, you will initiate the Seller Central login walkthrough by creating a new business account. Once your email is verified via a one-time password (OTP), you will enter the core registration portal where you input your business location, business type, and personal credentials.
Amazon Identity Verification Walkthrough
Amazon enforces a rigorous vetting system to maintain marketplace integrity. In this Amazon identity verification walkthrough 2026, it is crucial to understand that discrepancies lead to immediate rejection. After inputting your personal data, you will be prompted to upload high-quality color scans of your government-issued ID and bank statement.
To keep the Amazon seller registration process 2026 moving smoothly:
- Do not submit screenshots; upload original PDF or high-resolution JPEG files.
- Ensure all four corners of the document are visible in the scan.
- Verify that the documents are not expired.
Following the document upload, you will proceed to the mandatory tax information interview Amazon mandates. This is a digital questionnaire that generates your W-9 or W-8BEN forms automatically based on your tax classification.
Setting Up Two-Step Verification and Banking
Security and cash flow infrastructure are your final setup milestones. Establishing two-step verification for sellers (also known as 2SV) is mandatory to protect your business from unauthorized access. You can use an authenticator app or receive SMS codes; however, authenticator apps are highly recommended for optimal security in modern e-commerce.
Next, you must finalize your bank account verification for Amazon. You will link a deposit method where Amazon will disburse your funds bi-weekly. Remember to check that your selected financial institution adheres strictly to the latest payment service provider policy to avoid disbursement holds.
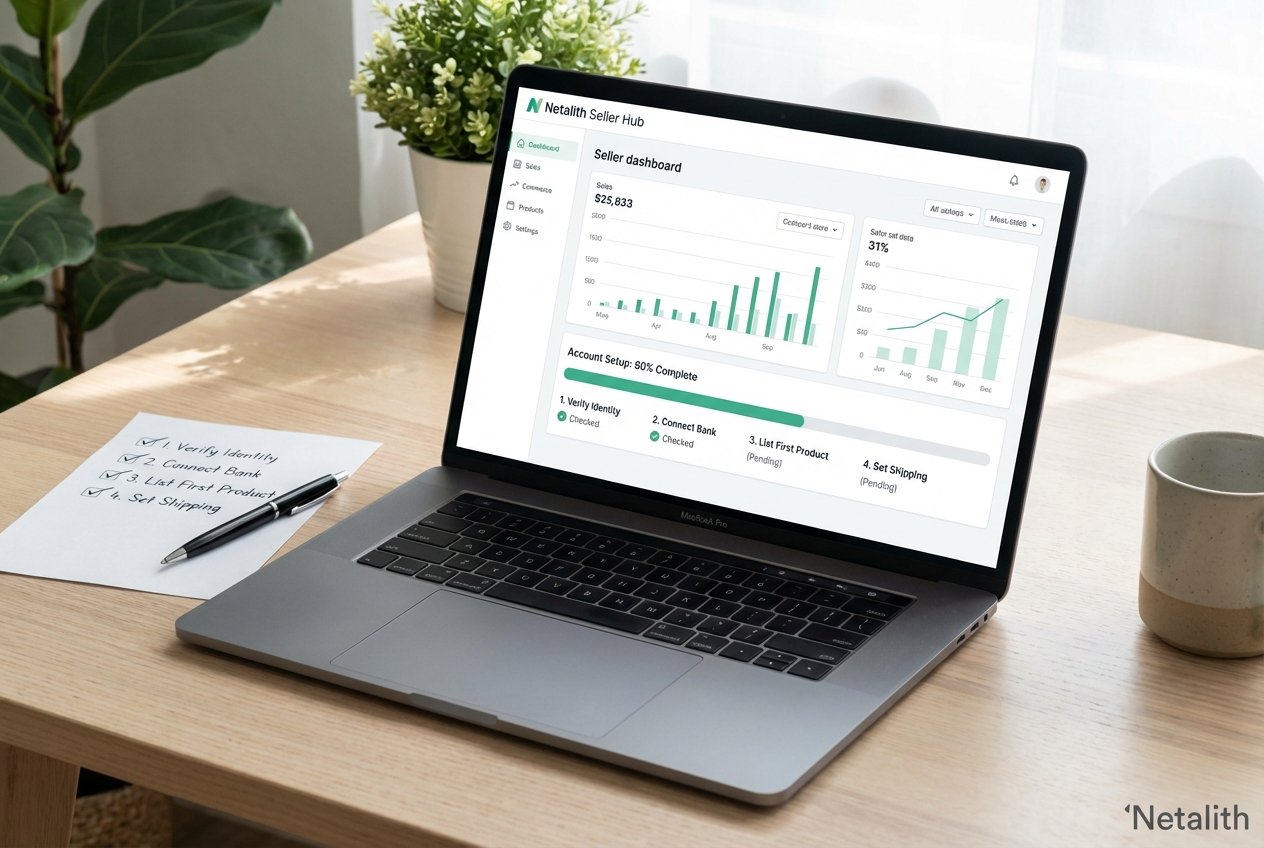
Seller Dashboard Tutorial: Navigating the Portal
Congratulations, your account is approved! Now, it is time to master your digital headquarters using this Amazon seller portal tutorial framework. This seller dashboard tutorial serves as your roadmap to operational success. The top navigation bar is your control center, housing crucial tabs such as Catalog, Inventory, Pricing, Orders, and Advertising.
As a brief Amazon seller portal tutorial, let us break down the most utilized sections:
- Inventory: Here you can add products, manage FBA shipments, and monitor stock levels.
- Orders: Track pending, unshipped, and fulfilled orders.
- Performance: Crucial for monitoring your Account Health rating and customer feedback.
Treat this platform as your primary Amazon merchant dashboard guide. As your sales volume increases, navigating this portal manually can become time-consuming. This is where integrating e-commerce automation tools becomes vital for syncing inventory and automating repricing. Furthermore, do not forget to frequently access Amazon Seller University directly from the dashboard for ongoing education.
Conclusion: Launching Your E-commerce Journey
We hope this Amazon Seller Central guide 2026 has demystified the onboarding process and provided you with the confidence to establish your digital storefront. While the initial setup requires careful attention to documentation and verification, successfully selling on Amazon opens up unparalleled access to millions of active buyers worldwide.
With your account active and secured, your next steps involve sourcing products, optimizing listings, and driving traffic. Consider exploring an Amazon FBA tutorial for beginners to understand outsourced fulfillment and learn how to sell on Amazon globally to maximize your brand's international footprint. In summary, a strong Amazon Seller Central guide 2026 strategy should stay useful long after publication.