How To Install the Django Web Framework on Ubuntu 14.04
Step-by-step guide to install Django on Ubuntu 14.04 using apt, pip, virtualenv, or git, plus how to start a sample project and run the development server.
Drake Nguyen
Founder · System Architect
Introduction
This guide explains how to install Django on Ubuntu 14.04 and get a basic project running. It covers several installation approaches—using Ubuntu packages, pip, an isolated virtualenv, and installing the development tree from git—so you can select the workflow that best fits your development or deployment needs.
Which method should you choose?
There are multiple ways to install Django on Ubuntu 14.04. Each approach has trade-offs in terms of stability, version freshness, and reproducibility:
- Ubuntu packages (apt) – simple and system-wide, but repository versions may lag behind Django releases.
- pip (global) – installs the latest stable release system-wide using pip or pip3.
- pip within a virtualenv – recommended for development: keeps project dependencies isolated and reproducible.
- Install from git – use this when you need the latest development changes or want to test unreleased fixes.
Prerequisites
Make sure you have a user with sudo privileges and an updated package index. Confirm which Python runtime you plan to use (Python 2 is legacy; prefer Python 3 where possible when you install Django on Ubuntu 14.04).
Global install from Ubuntu packages (apt)
To install the packaged Django available in Ubuntu 14.04’s repositories:
sudo apt-get update
sudo apt-get install python-django
Check the installed version:
django-admin --versionNote: the python-django package is convenient for quick setups, but it often provides an older release compared to pip. If you need a newer Django on Ubuntu 14.04, consider pip or a virtualenv approach.
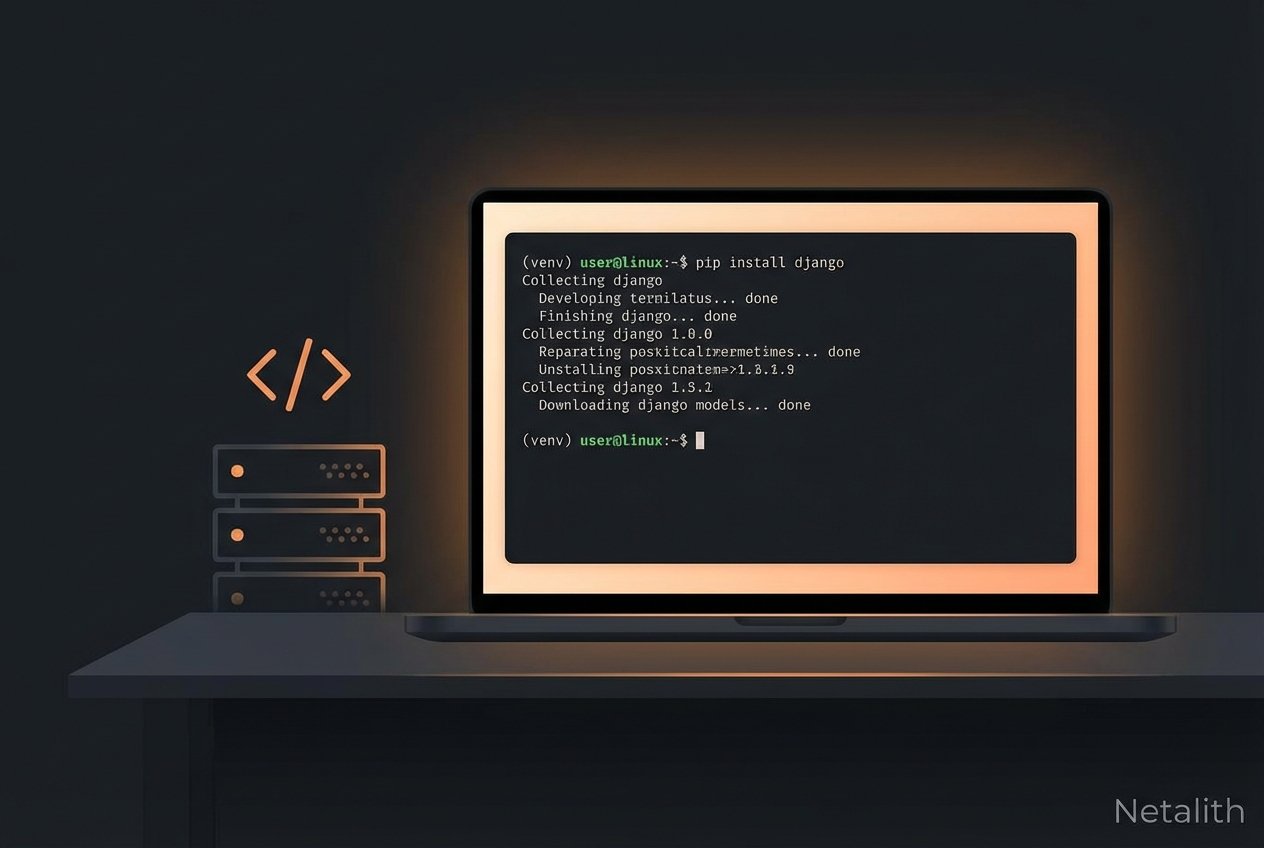
Global install with pip
To install the latest stable Django globally using pip:
sudo apt-get update
# For Python 2 (not recommended for new projects)
sudo apt-get install python-pip
sudo pip install django

# For Python 3 (recommended)
sudo apt-get install python3-pip
sudo pip3 install django
Verify the installation:
django-admin --versionUsing pip (pip3) on Ubuntu 14.04 lets you obtain more recent Django releases than the Ubuntu repositories provide.
Install Django in a virtualenv (recommended)
For project isolation and reproducibility, create a virtual environment and install Django there. This is a common best practice for Python Django Ubuntu setups.
sudo apt-get update
# Install pip if needed
sudo apt-get install python3-pip
# Install virtualenv if you don't have it
sudo pip3 install virtualenv

# Create a project directory and a virtual environment
mkdir ~/myproject
cd ~/myproject
virtualenv -p python3 venv

# Activate the virtual environment
source venv/bin/activate

# Inside the virtualenv, install Django (no sudo)
pip install django

# Confirm version
django-admin --version

# When finished, deactivate
deactivate
Using a virtual environment prevents conflicts between projects and makes it easy to pin Django and other dependencies in a requirements.txt file.
Install the development version from git
If you need the cutting-edge Django code (for testing or contributing), clone the repository and install in editable mode. You can combine this with a virtualenv to avoid affecting the system environment.
sudo apt-get update
sudo apt-get install git python3-pip

# Clone the Django repository
git clone https://github.com/django/django.git ~/django-dev

# Optionally, create and activate a virtualenv first, then install
virtualenv -p python3 ~/django-dev-venv
source ~/django-dev-venv/bin/activate

# Install the cloned repository in editable mode
pip install -e ~/django-dev

# Check the installed (development) version
django-admin --version

# deactivate when done
deactivate
Development installs give you the latest features but may be unstable. Use them for testing or when you need an unreleased fix.
Creating a new Django project
After Django is installed (system-wide or inside a virtualenv), create a starter project:
django-admin startproject projectname
cd projectname
If you are already inside a project directory and want Django to place files in the current directory (no extra nested folder), add a trailing dot:
django-admin startproject projectname .Initialize the database and admin user
Bootstrap the database. On modern Django versions use migrate; older releases may require syncdb:
python manage.py migrate
# or for older Django
# python manage.py syncdb
Create an administrative user:
python manage.py createsuperuserRun the development server
To preview the application locally or on a development server:
python manage.py runserver 0.0.0.0:8000Point your browser to http://server_ip_address:8000 to see the default Django page, and visit http://server_ip_address:8000/admin to sign in with the superuser credentials.
Tip: The Django development server is for development only. For production on Ubuntu 14.04, deploy with a proper WSGI server (uWSGI/gunicorn) behind a reverse proxy such as Nginx.
Troubleshooting and tips
- If django-admin isn’t found, ensure your virtualenv is activated or that your PATH includes the pip installation location.
- On Ubuntu 14.04, prefer python3 and pip3 for new projects because Python 2 is end-of-life.
- Use requirements.txt (pip freeze > requirements.txt) to record exact package versions for consistent installs.
- When you encounter database errors, check that required database client libraries (e.g., libpq-dev for PostgreSQL) are installed before adding a DB backend.
Further reading
Consult the official Django documentation for detailed guidance on building apps, securing deployments, and upgrading between Django releases.